

What To Know
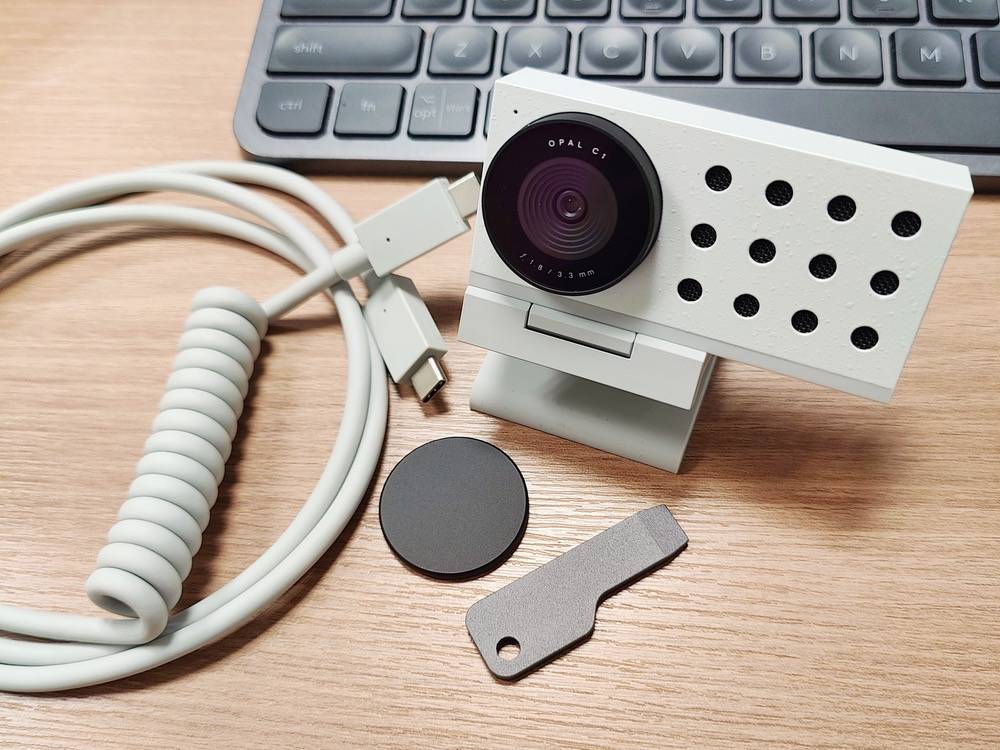
- The product comes in a few pieces – the Opal C1 webcam, a screw mount, a magnetic privacy cap, a metal screwdriver (feels like Titanium), and a thick USB data cable.
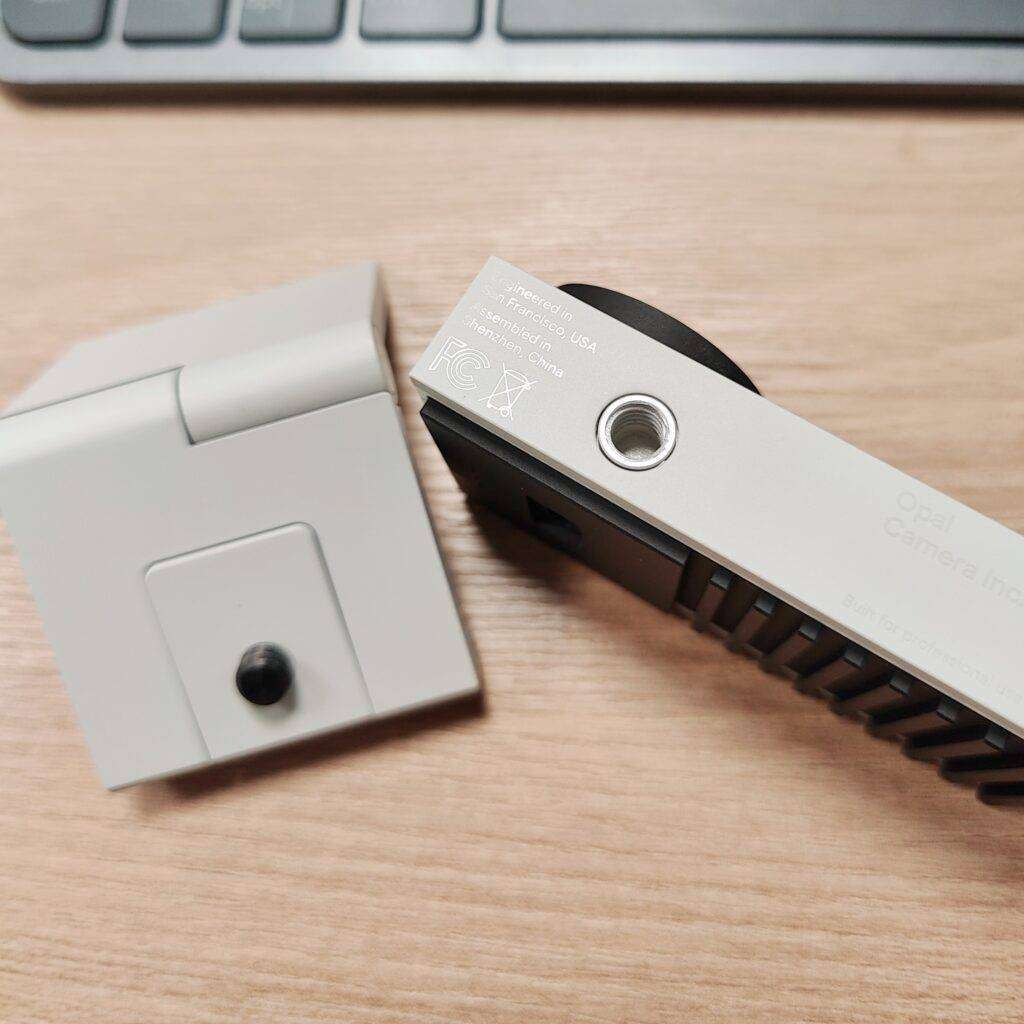
- The Opal C1 can be tripod mounted, but you will need to remove the screw mount for the monitor, unlike the Lumina which has a mount where the tripod can mount from the Lumina mount itself (much more convenient).
I bought quite a few webcams, especially due to the rise of Zoom during the recent pandemic years. Logi, J5, then Lumina, and now, the Opal C1. However, I didn’t find the Opal C1 intuitive, even it is extremely well made. Read more below.
The online reviews raved about the Opal C1, a “DSLR-like professional” webcam. The real test is using it.
Build quality
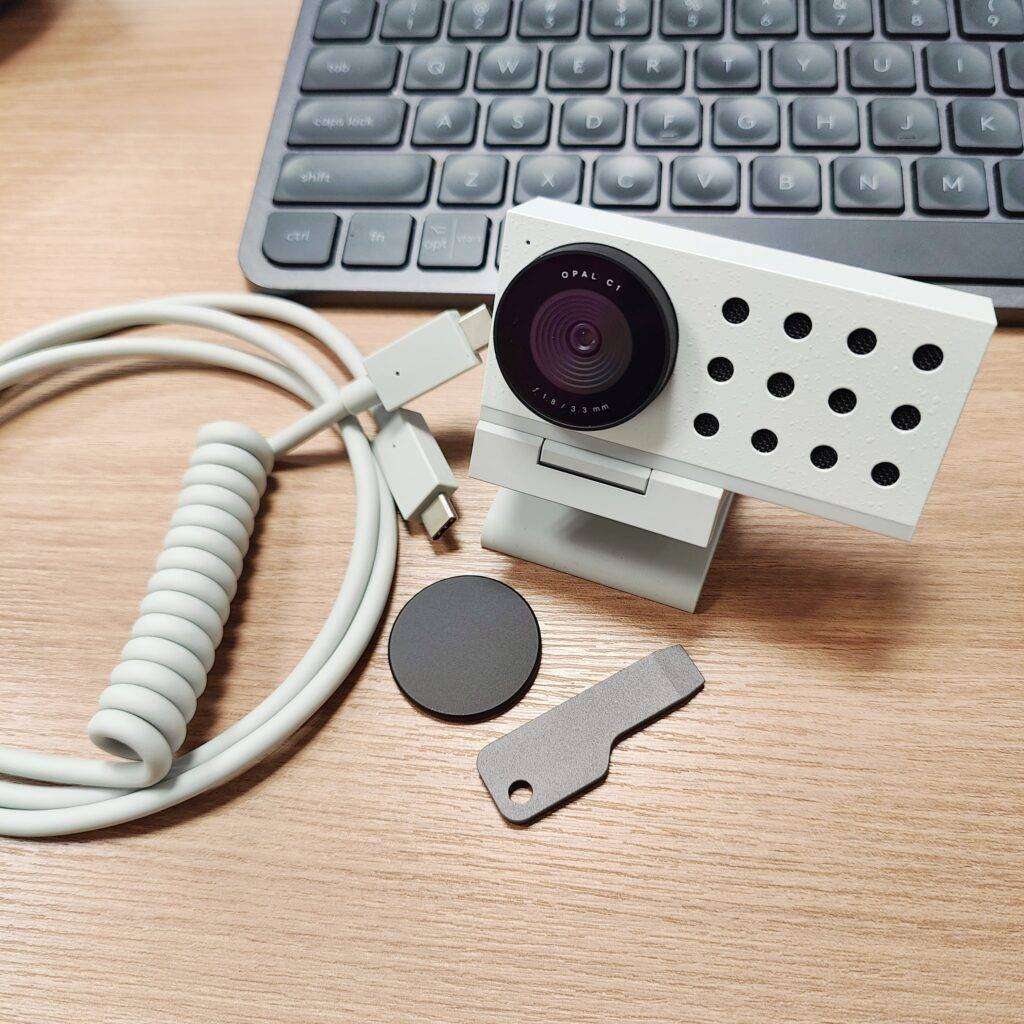
The Opal C1 comes in a gorgeous box, quite akin to a flagship smartphone packaging. The product comes in a few pieces – the Opal C1 webcam, a screw mount, a magnetic privacy cap, a metal screwdriver (feels like Titanium), and a thick USB data cable. The online reviews showed a black box, but mine is white.
The Opal C1 can be tripod mounted, but you will need to remove the screw mount for the monitor, unlike the Lumina which has a mount where the tripod can mount from the Lumina mount itself (much more convenient). The Logitech BRIO does not have any way to mount on a tripod and is really meant to be mounted on a monitor only.
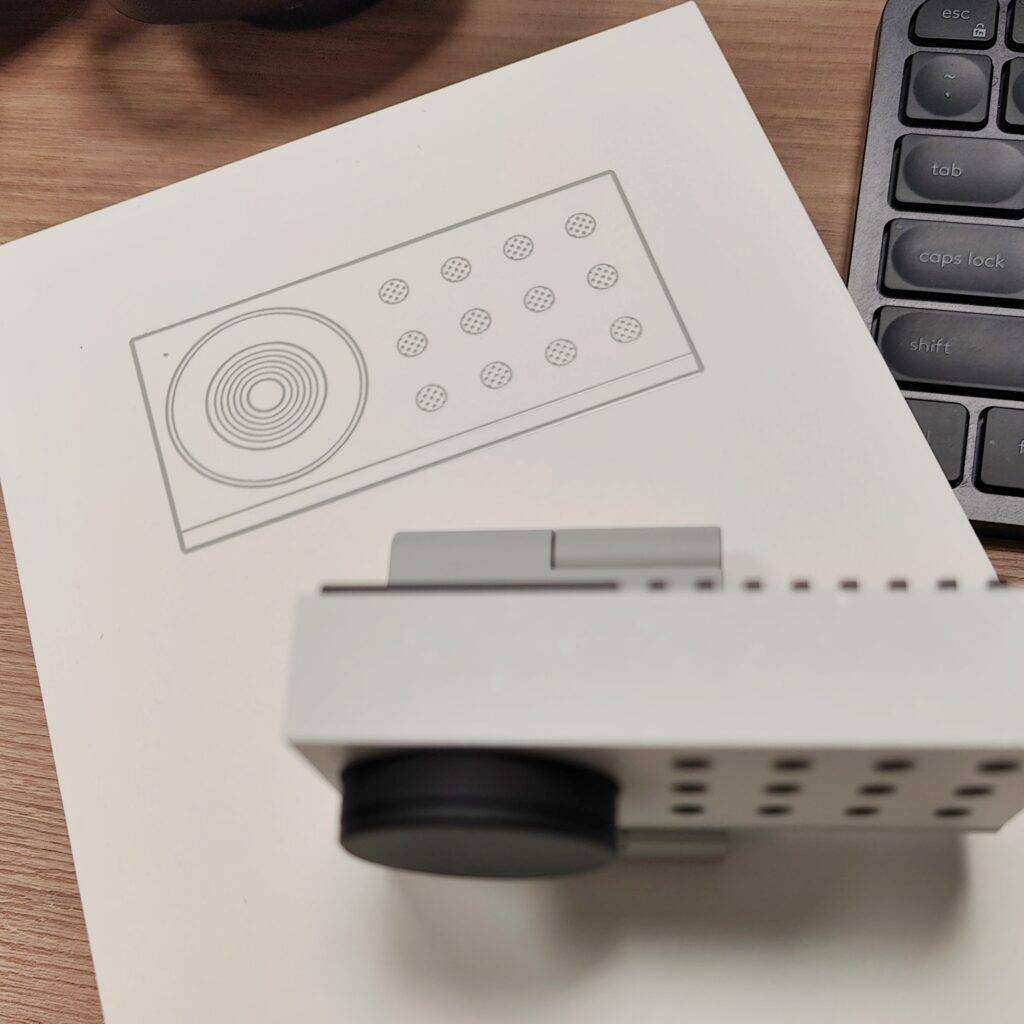
The Opal C1 is chunky, but smaller than my J5 4k webcam. The surface is slightly textured – you either love it or hate it. The privacy cover is a magnetically mounted black disc, quite classy, but can be easily misplaced. The Lumina webcam has a removable privacy cover, which can also be misplaced. The J5 webcam has a built-in sliding privacy cover, which I feel is the best design. The Opal C1 has this industrial minimalist look, with a metal heatsink behind, so you can imagine what that means.
Plug-and-play comparison
Without the Opal software installed (on my Mac), firing up Zoom will recognize the Opal C1 as a UVC webcam, but the inherent autofocus hunts incessantly, and banding occurs (this probably has something to do with the NTSC/PAL settings that is only available if you use their software).
So if you do not use their software, the Opal C1 is practically unusable for me. Using the Lumina webcam has no such problem with focus although a slight banding occurs for me. But at least the Lumina webcam works quite flawlessly and color rendition is clean. The Logitech BRIO has the brightest image, but contrast is a bit high, with only a faint banding for me. Out of the box, I would say the Logitech BRIO and J5 have the best out-of-box image quality without the need for proprietary software.
Proprietary software
The Opal C1 is an insistent beast, where even the USB cable needs to be its own cable. Plugging in any USB cable typically works for all other webcams above, but the Opal C1 will grumble when it is plugged into any other cable.
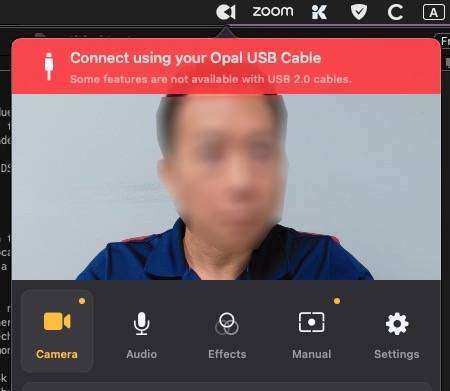
The software has 5 tabs, Camera, Audio, Effects, Manual, and Settings.
Camera
You can select video recording, screen recording, record both video and screen, or loop. There is a Bokeh function due to the f/1.4 lens on the Opal C1. You can upload and embed a logo of your own for your videos, with overlay text as well. However, for my purpose of meetings and podcasts, I won’t use their embedded logo and overlays, as there are no options for typefaces and sizes. You can zoom in to your image, as the camera has enough resolution to crop in without a perceivable loss of image quality, since it records to 720p only. You can do a “Face lock” to stay in frame too.
Audio
You can mute the audio, and manually adjust the gain. The “noise cancellation” feature is inactive and says “coming soon”.
Filters
I am not a fan of filters and digital retouching, so this may be more useful to others than me. You can select digital filters that give it an “aged” look, or monochrome. You can use “touch up” for most of us mortals not blessed with perfect complexion. You can tune your “tone”. For some recordings where the identity of the person on screen should be masked, you can use “pixelate” to hide the person from view. You can also tune the highlights and shadows to achieve a somewhat HDR look if you wish.
Manual
Here, if you like a more accurate or nuanced look, feel free to play with brightness, exposure, saturation, contrast, vibrance, or white balance.
Settings
For my configuration, I allowed the proprietary software to start up at login, and also when the camera is plugged in. I ignored the gesture control as I felt it is a tad gimmicky for me. I left the other settings disabled, except Antibanding. This is needed especially if you are based in say, South East Asia where PAL video standard is the norm. Before I received my Opal C1, an email from Opal told me to install the latest beta software, BEFORE I plug in the webcam, and so I did. It did require some tinkering with permissions on my Ventura Mac, so do note.
Recommendations?
For anyone who does not mind tinkering with their webcam for a boost in image quality, and won’t mind the bulk of a webcam, the Opal C1 might be useful. There are plenty of controls to allow those of us obsessed with image manipulation to tweak till our hearts’ content. For the rest, the simpler J5 4K webcam might be my personal recommendation, next followed by the Logitech BRIO.
###

Dr Seamus Phan is head of content at Microwire.news (aka microwire.info), a content outreach and amplification platform for news, events, brief product and service reviews, commentaries, and analyses in the relevant industries. Part of McGallen & Bolden Group initiative. Copyrights belong to the respective authors/owners and the service is not responsible for the content presented.